一.若依简介
官网简介
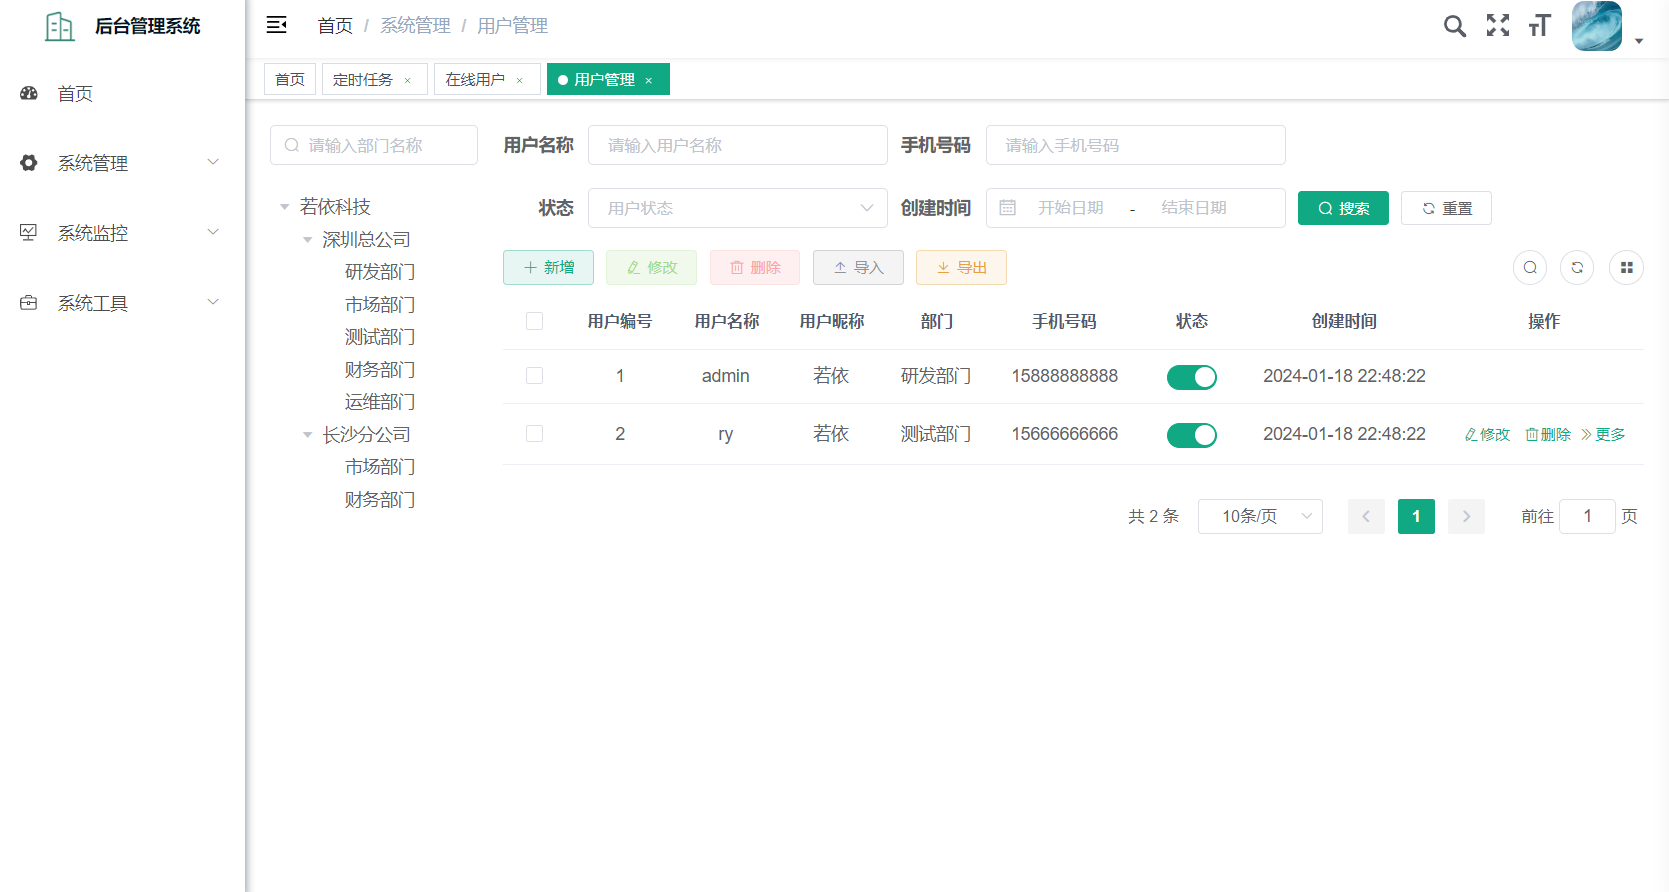
RuoYi 是一个后台管理系统,主要目的让开发者注重专注业务,降低技术难度,从而节省人力成本,缩短项目周期,提高软件安全质量。
单体版本技术栈:Spring Boot、Apache Shiro、MyBatis、Thymeleaf
前后端分离版本技术栈:SpringBoot、Spring Security、Jwt、Vue
微服务版本技术栈:Spring Boot、Spring Cloud & Alibaba
相关网站
总结
若依就是一个后台管理系统的通用模板,这个模板中包含了后台管理系统的常用功能,比如登录、权限管理、菜单管理、用户管理等,避免我们在开发中重复造轮子,让开发回归到业务本身。
二.下载使用
1.前置环境
后端:JDK、Maven、Mysql、Redis
前端:Node、Npm
2.下载运行
1.克隆命令
1
| git clone https://gitee.com/y_project/RuoYi-Vue.git
|
2.使用Idea打开项目并初始化数据库脚本
执行克隆的项目工程目录下sql目录中的两个sql文件初始化数据库
3.修改Mysql和Redis的连接信息
在application.yml中修改redis的连接信息,在application-druid.yml中修改mysql的连接信息
application.yml
application-druid.yml
4.使用Vscode或者Idea打开前端项目并执行命令初始化前端项目
1
2
3
4
5
6
7
8
9
10
11
12
13
| # 前端相关命令
# 进入项目目录
cd ruoyi-ui
# 安装依赖
npm install
# 建议不要直接使用 cnpm 安装依赖,会有各种诡异的 bug。可以通过如下操作解决 npm 下载速度慢的问题
npm install --registry=https://registry.npmmirror.com
# 启动服务
npm run dev
|
三.项目功能实现逻辑
1.基本配置
1.1 浏览器请求过程
配置的原因是在前端解决跨域
1.浏览器发送http://localhost/prod-api/captchaImage 请求
2.前端接收http://localhost/prod-api/captchaImage 请求,通过下面的配置重写url,然后再将请求发送给后端(通过['^' + process.env.VUE_APP_BASE_API]: ''配置将http://localhost/prod-api/captchaImage重写为http://localhost:8080/captchaImage)
该配置在vue.config.js配置文件中
1
2
3
4
5
6
7
8
9
10
11
12
13
14
15
16
17
18
| devServer: {
host: '0.0.0.0',
port: port,
open: true,
proxy: {
[process.env.VUE_APP_BASE_API]: {
target: `http://localhost:8080`,
changeOrigin: true,
pathRewrite: {
['^' + process.env.VUE_APP_BASE_API]: ''
}
}
},
disableHostCheck: true
}
|
2.登录功能
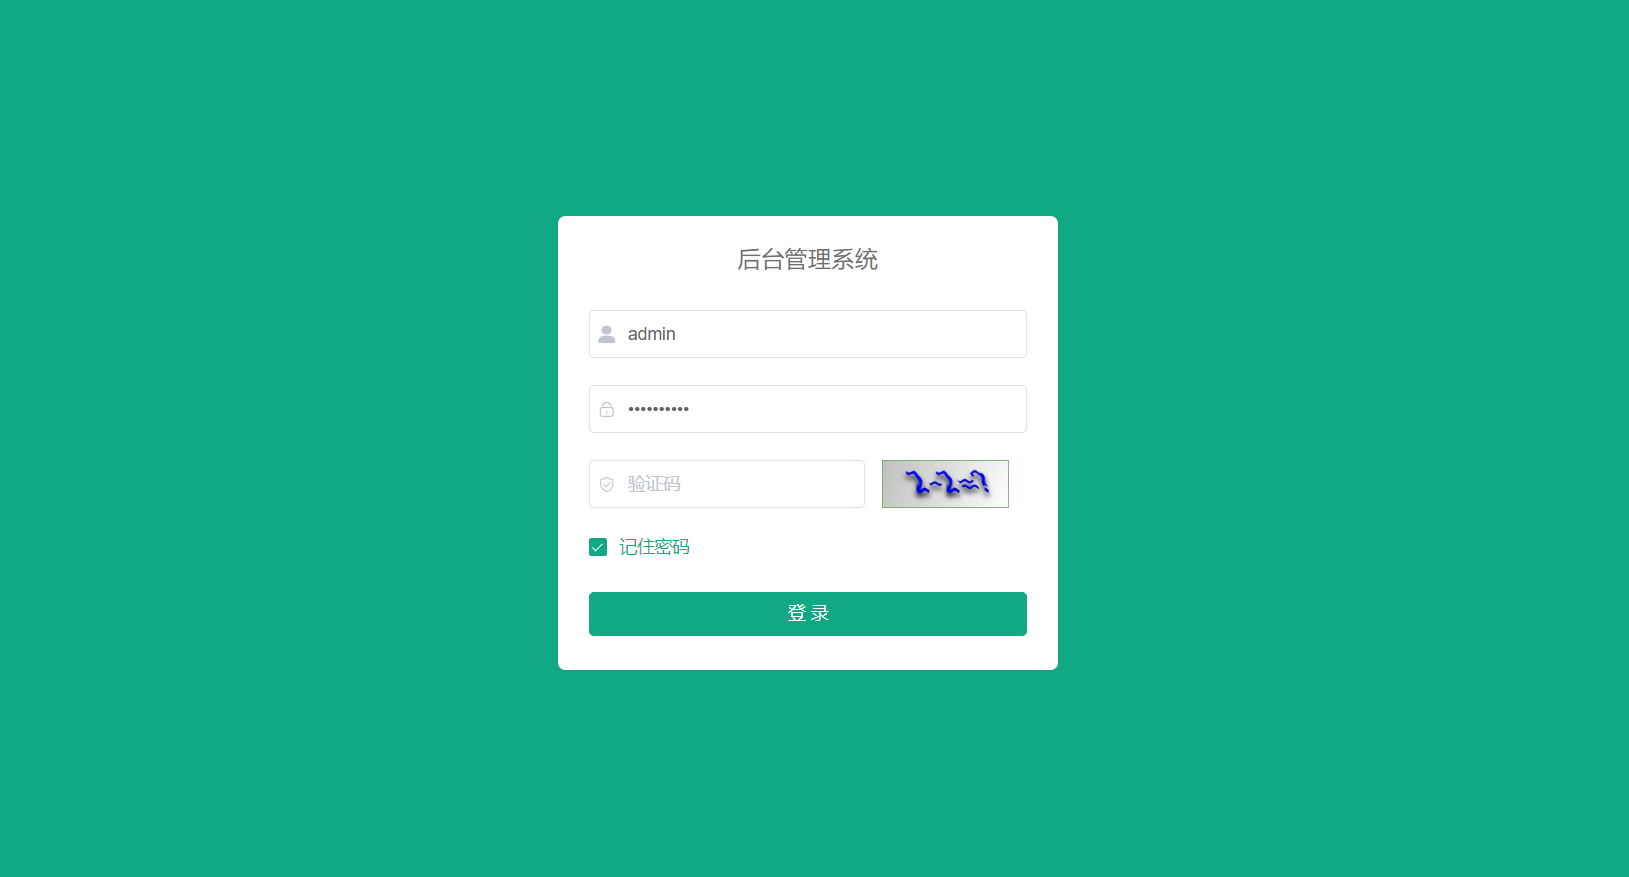
实现思路
1.后端生成一个计算表达式 ,例如 1+1=?@2
2.然后将1+1=?以流的方式传递给前端,前端展示为图片,同时后端也会传递一个UUID给前端,这个UUID为就是xxxxxxxxxxxxxxxxxxxxxxxxxxxxxxxx,2作为结果value值存入Redis中。存入Redis中的key的格式为captcha_codes:xxxxxxxxxxxxxxxxxxxxxxxxxxxxxxxx
3.用户在填写完表单之后会携带账号、密码、验证码的结果值,以及之前后端传递给前端的UUID值给后端,后端会先以captcha_codes:+UUID作为key在reidis中查找value值,再和前端输入的验证码结果值作比较,如果验证码相同再比较账号密码,账号密码在数据库中也可以匹配上就登录成功,反之返回给前端账号密码错误;如果验证码不相同,直接返回给前端,验证码错误。
代码实现
1.前端在页面初始化或者刷新验证码的时候会调用下面的方法获取验证码和UUID值
1
2
3
4
5
6
7
8
9
| getCode() {
getCodeImg().then(res => {
this.captchaEnabled = res.captchaEnabled === undefined ? true : res.captchaEnabled;
if (this.captchaEnabled) {
this.codeUrl = "data:image/gif;base64," + res.img;
this.loginForm.uuid = res.uuid;
}
});
}
|
2.后端生成验证码的过程
1
2
3
4
5
6
7
8
9
10
11
12
13
14
15
16
17
18
19
20
21
22
23
24
25
26
27
28
29
30
31
32
33
34
35
36
37
38
39
40
41
42
43
44
45
46
47
48
49
|
@GetMapping("/captchaImage")
public AjaxResult getCode(HttpServletResponse response) throws IOException {
AjaxResult ajax = AjaxResult.success();
boolean captchaEnabled = configService.selectCaptchaEnabled();
ajax.put("captchaEnabled", captchaEnabled);
if (!captchaEnabled) {
return ajax;
}
String uuid = IdUtils.simpleUUID();
String verifyKey = CacheConstants.CAPTCHA_CODE_KEY + uuid;
String capStr = null, code = null;
BufferedImage image = null;
String captchaType = RuoYiConfig.getCaptchaType();
if ("math".equals(captchaType)) {
String capText = captchaProducerMath.createText();
capStr = capText.substring(0, capText.lastIndexOf("@"));
code = capText.substring(capText.lastIndexOf("@") + 1);
image = captchaProducerMath.createImage(capStr);
} else if ("char".equals(captchaType)) {
capStr = code = captchaProducer.createText();
image = captchaProducer.createImage(capStr);
}
redisCache.setCacheObject(verifyKey, code, Constants.CAPTCHA_EXPIRATION, TimeUnit.MINUTES);
FastByteArrayOutputStream os = new FastByteArrayOutputStream();
try {
ImageIO.write(image, "jpg", os);
} catch (IOException e) {
return AjaxResult.error(e.getMessage());
}
ajax.put("uuid", uuid);
ajax.put("img", Base64.encode(os.toByteArray()));
return ajax;
}
|
3.前端登录提交的表单和处理登录的方法
1
2
3
4
5
6
7
8
9
10
11
12
13
14
15
16
17
18
19
| data() {
return {
codeUrl: "",
loginForm: {
username: "admin",
password: "admin123",
rememberMe: false,
code: "",
uuid: ""
}
};
}
|
1
2
3
4
5
6
7
8
9
10
11
12
13
14
15
16
17
18
19
20
21
22
23
24
| handleLogin() {
this.$refs.loginForm.validate(valid => {
if (valid) {
this.loading = true;
if (this.loginForm.rememberMe) {
Cookies.set("username", this.loginForm.username, { expires: 30 });
Cookies.set("password", encrypt(this.loginForm.password), { expires: 30 });
Cookies.set('rememberMe', this.loginForm.rememberMe, { expires: 30 });
} else {
Cookies.remove("username");
Cookies.remove("password");
Cookies.remove('rememberMe');
}
this.$store.dispatch("Login", this.loginForm).then(() => {
this.$router.push({ path: this.redirect || "/" }).catch(()=>{});
}).catch(() => {
this.loading = false;
if (this.captchaEnabled) {
this.getCode();
}
});
}
});
}
|
4.后端登录的实现逻辑
 微信
微信 支付宝
支付宝