Java生成二维码
|字数总计:3.9k|阅读时长:19分钟|阅读量:
一.谷歌zxing开源库生成二维码
1.创建一个sprinBoot项目
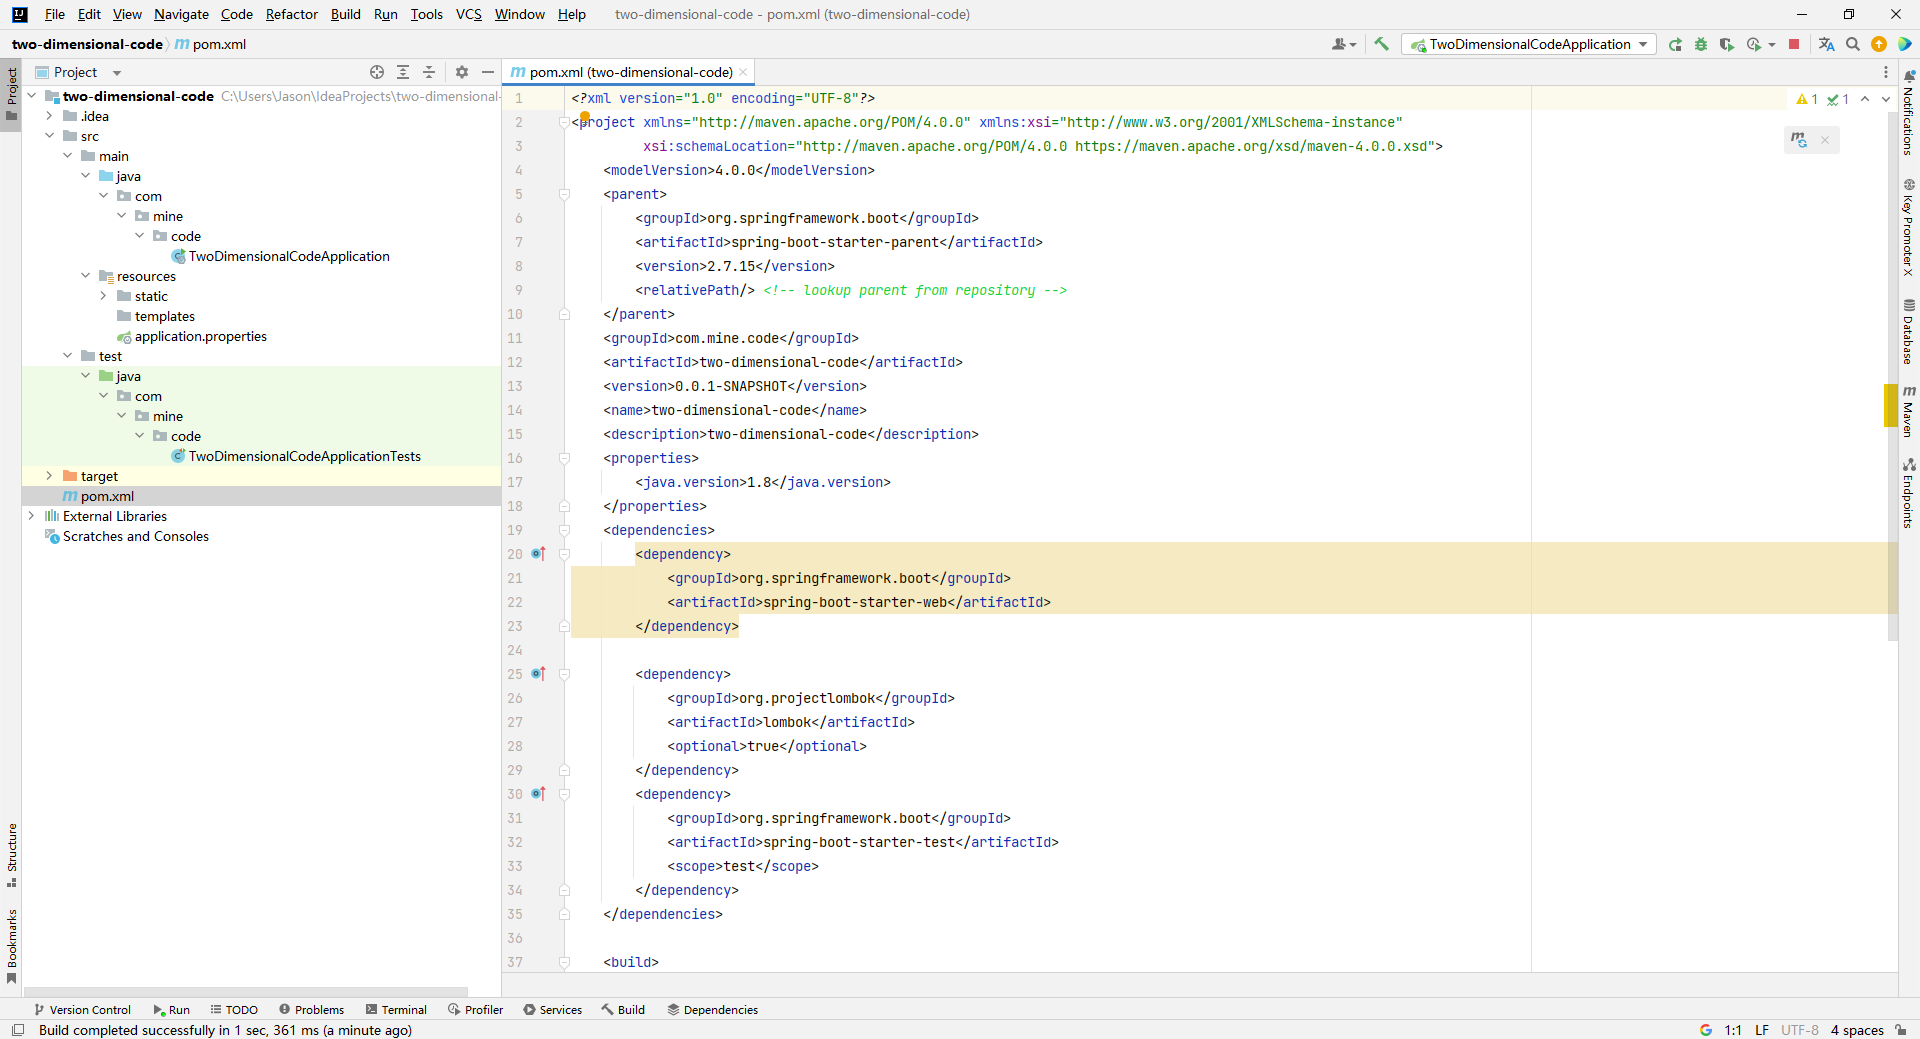
2.引入相关的依赖
1
2
3
4
5
6
7
8
9
10
11
12
13
14
15
16
17
18
19
20
21
22
23
24
25
26
27
28
29
30
31
32
33
34
35
36
37
38
39
40
41
| <dependencies>
<dependency>
<groupId>org.springframework.boot</groupId>
<artifactId>spring-boot-starter-web</artifactId>
</dependency>
<dependency>
<groupId>org.springframework.boot</groupId>
<artifactId>spring-boot-starter-test</artifactId>
<scope>test</scope>
</dependency>
<dependency>
<groupId>org.springframework.boot</groupId>
<artifactId>spring-boot-starter-thymeleaf</artifactId>
</dependency>
<dependency>
<groupId>com.google.zxing</groupId>
<artifactId>core</artifactId>
<version>3.1.0</version>
</dependency>
<dependency>
<groupId>com.google.zxing</groupId>
<artifactId>javase</artifactId>
<version>3.1.0</version>
</dependency>
<dependency>
<groupId>commons-lang</groupId>
<artifactId>commons-lang</artifactId>
<version>2.6</version>
</dependency>
<dependency>
<groupId>org.projectlombok</groupId>
<artifactId>lombok</artifactId>
<optional>true</optional>
</dependency>
</dependencies>
|
3.在templates目录下新建index.html文件
1
2
3
4
5
6
7
8
9
10
| <!DOCTYPE html>
<html lang="en">
<head>
<meta charset="UTF-8">
<title>Title</title>
</head>
<body>
</body>
</html>
|
4.编写controller跳转到该页面,完成后重启项目,访问localhost:8080 测试
1
2
3
4
5
6
7
8
| @Controller
public class CodeController {
@GetMapping("/")
public String index(){
return "index";
}
}
|
5.打开index.html,编写前端页面
1
2
3
4
5
6
7
8
9
10
11
12
13
14
15
16
17
18
19
20
21
22
| <!DOCTYPE html>
<html lang="en">
<head>
<meta charset="UTF-8">
<title>二维码</title>
</head>
<body>
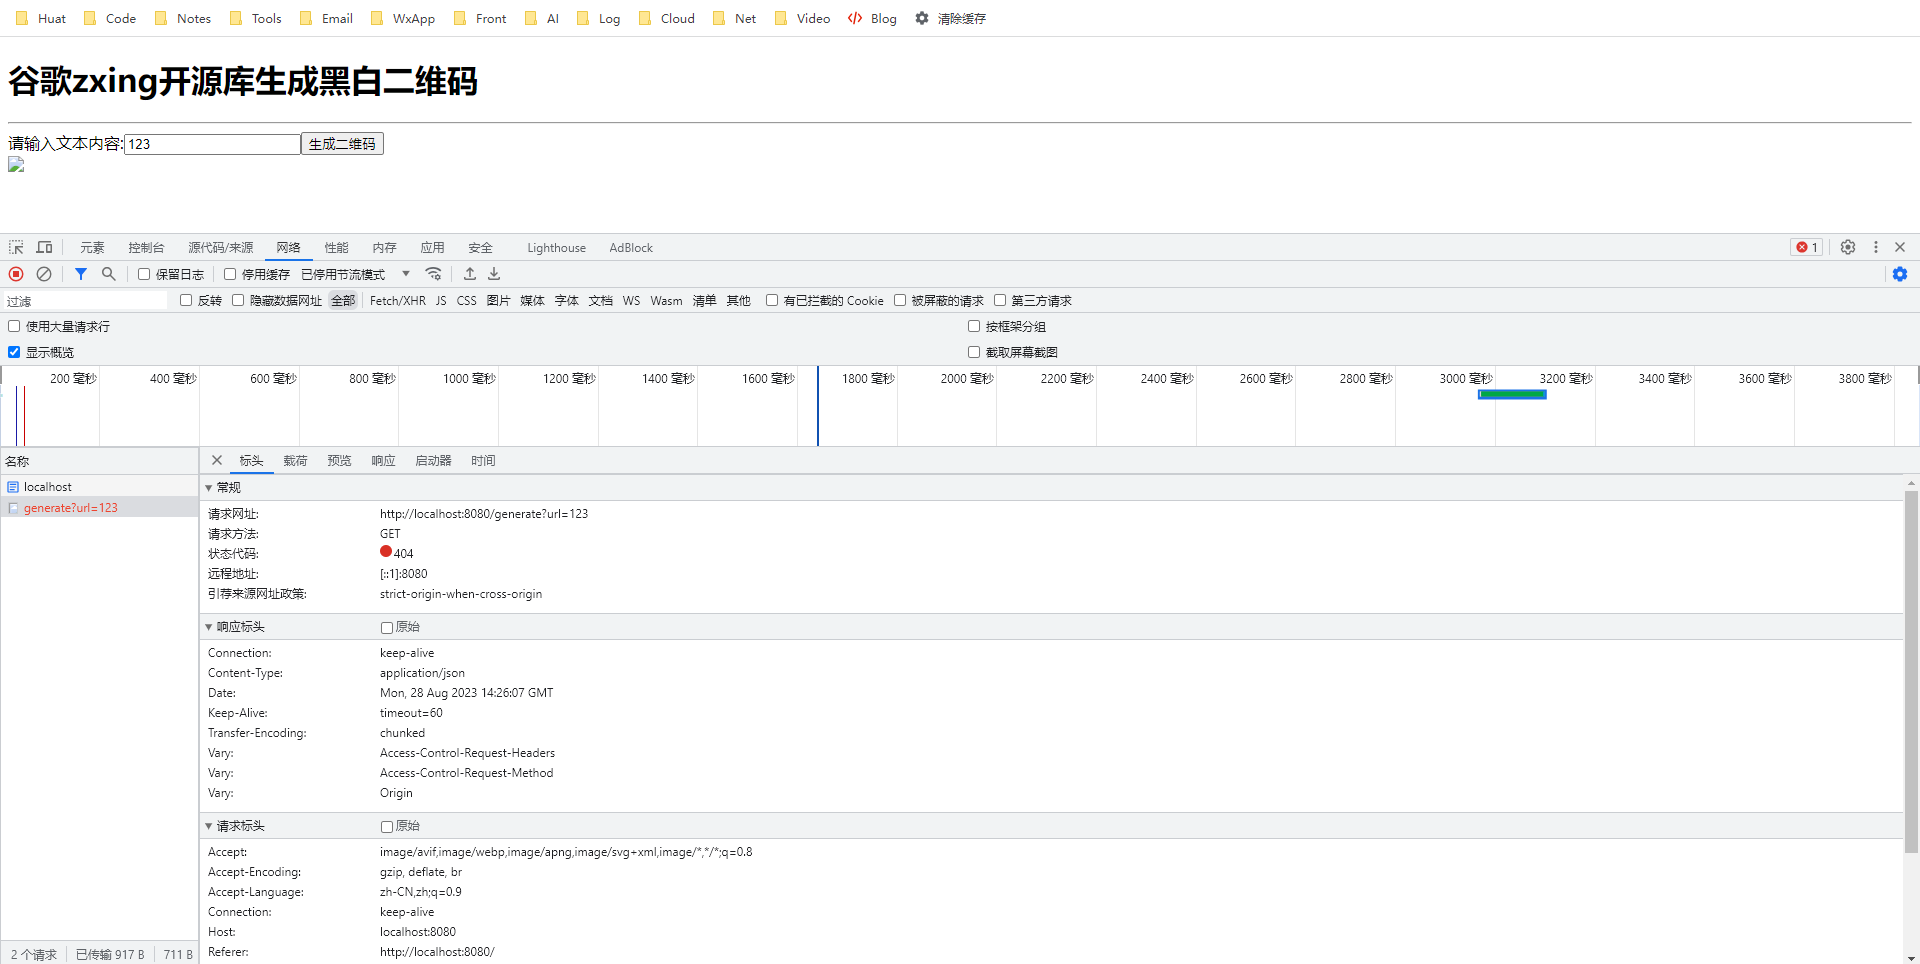
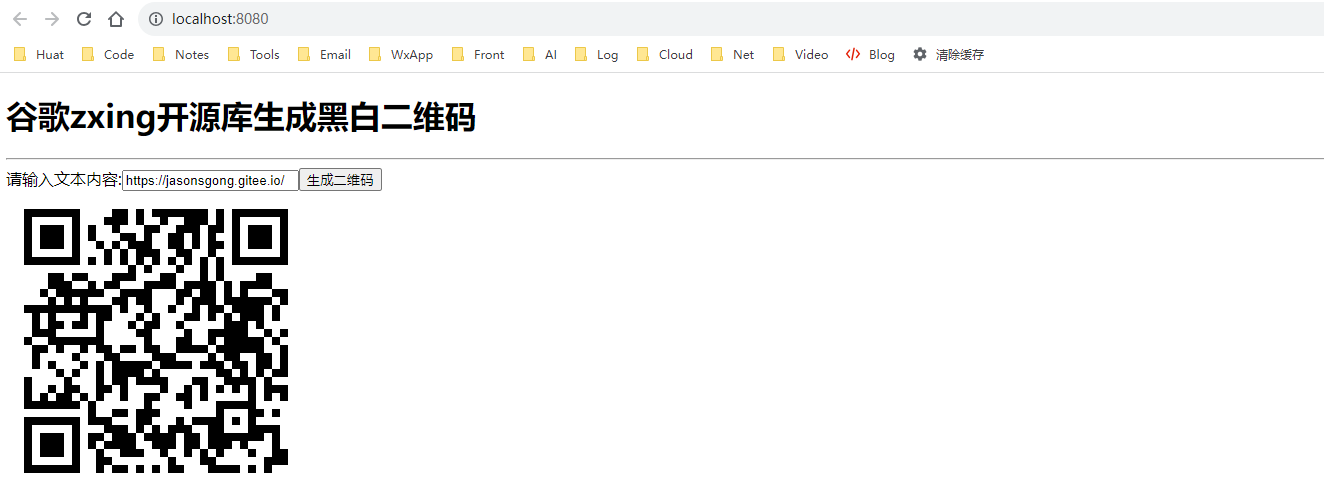
<h1>谷歌zxing开源库生成黑白二维码</h1>
<hr>
请输入文本内容:<input type="text" id="url"><button onclick="generateQRCode()">生成二维码</button><br>
<img id="qrCodeImg">
<script>
function generateQRCode(){
let url = document.getElementById("url").value
let qrCodeImg = document.getElementById("qrCodeImg")
qrCodeImg.src = "/generate?url="+ url
}
</script>
</body>
</html>
|
由于后端部分没有编写,这时我们访问项目的时候会返回404
6.后端代码的编写
1
2
3
4
5
6
7
8
9
10
11
12
13
14
15
16
17
18
19
20
21
22
23
24
25
26
27
28
29
30
31
32
33
34
35
36
37
38
39
40
41
42
43
44
45
46
47
48
49
50
51
52
53
54
55
56
57
58
59
60
61
62
63
64
65
66
67
68
69
70
71
72
73
74
75
76
77
78
79
80
81
82
83
84
85
86
87
88
89
90
91
| package com.mine.code.controller;
import com.google.zxing.BarcodeFormat;
import com.google.zxing.EncodeHintType;
import com.google.zxing.MultiFormatWriter;
import com.google.zxing.WriterException;
import com.google.zxing.aztec.encoder.AztecCode;
import com.google.zxing.common.BitMatrix;
import com.google.zxing.qrcode.decoder.ErrorCorrectionLevel;
import lombok.extern.slf4j.Slf4j;
import org.springframework.stereotype.Controller;
import org.springframework.web.bind.annotation.GetMapping;
import org.springframework.web.bind.annotation.RequestParam;
import org.springframework.web.bind.annotation.ResponseBody;
import javax.imageio.ImageIO;
import javax.servlet.ServletOutputStream;
import javax.servlet.http.HttpServletResponse;
import java.awt.image.BufferedImage;
import java.io.IOException;
import java.util.HashMap;
import java.util.Map;
@Slf4j
@Controller
public class CodeController {
@GetMapping("/")
public String index() {
return "index";
}
@GetMapping("/generate")
public String generate(@RequestParam("url") String url, HttpServletResponse response) {
log.info("文本内容:{}", url);
try {
Map map = new HashMap<>();
map.put(EncodeHintType.ERROR_CORRECTION, ErrorCorrectionLevel.H);
map.put(EncodeHintType.CHARACTER_SET, "utf-8");
map.put(EncodeHintType.MARGIN, 1);
MultiFormatWriter writer = new MultiFormatWriter();
BitMatrix bitMatrix = writer.encode(url, BarcodeFormat.QR_CODE, 300, 300, map);
int width = bitMatrix.getWidth();
int height = bitMatrix.getHeight();
BufferedImage image = new BufferedImage(width, height, BufferedImage.TYPE_INT_BGR);
for (int x = 0; x < width; x++) {
for (int y = 0; y < height; y++) {
image.setRGB(x, y, bitMatrix.get(x, y) ? 0xFF000000 : 0xFFFFFFFF);
}
}
ServletOutputStream out = response.getOutputStream();
ImageIO.write(image,"png",out);
out.flush();
out.close();
} catch (Exception e) {
e.printStackTrace();
}
return null;
}
}
|
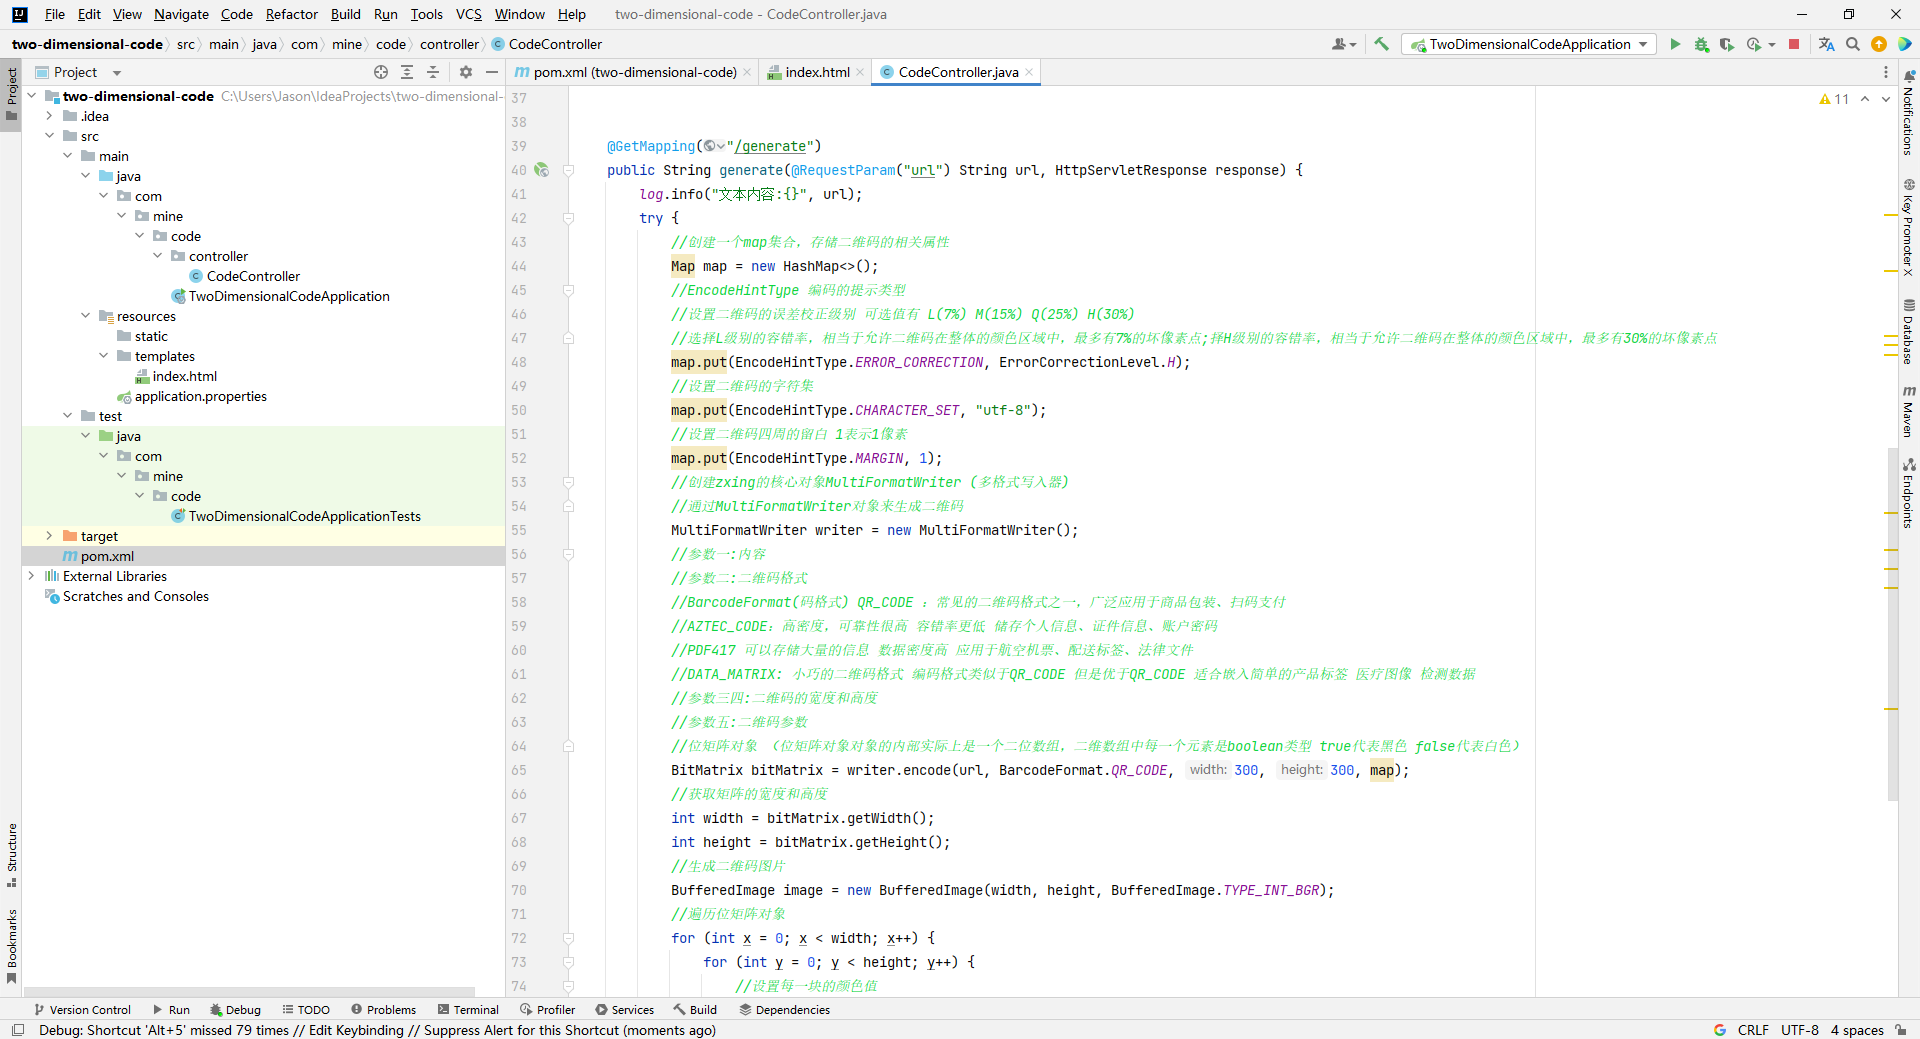
7.测试生成二维码
完整的项目结构
8.生成一个带Logo的黑白二维码
1.编写qrcode.html页面和跳转到该页面的controller
1
2
3
4
5
6
7
8
9
10
11
12
13
14
| <!DOCTYPE html>
<html lang="en">
<head>
<meta charset="UTF-8">
<title>生成带logo的黑白二维码</title>
</head>
<body>
<form action="/generateWithLogo" method="post" enctype="multipart/form-data">
请输入文本内容:<input type="text" name="url"><br>
请选择logo图片:<input type="file" name="logo"><br>
<input type="submit" value="生成二维码">
</form>
</body>
</html>
|
1
2
3
4
5
6
7
|
@GetMapping("/logo")
public String toLogo() {
return "qrcode";
}
|
2.编写后端生成二维码逻辑
1
2
3
4
5
6
7
8
9
10
11
12
13
14
15
16
17
18
19
20
21
22
23
24
25
26
27
28
29
30
31
32
33
34
35
36
37
38
39
40
41
42
43
44
45
46
47
48
49
50
51
52
53
54
55
56
57
58
59
60
61
|
@PostMapping("/generateWithLogo")
public String generateWithLogo(@RequestParam("url") String url, HttpServletResponse response, HttpServletRequest request) {
try {
Map map = new HashMap<>();
map.put(EncodeHintType.ERROR_CORRECTION, ErrorCorrectionLevel.H);
map.put(EncodeHintType.CHARACTER_SET, "utf-8");
map.put(EncodeHintType.MARGIN, 1);
MultiFormatWriter writer = new MultiFormatWriter();
BitMatrix bitMatrix = writer.encode(url, BarcodeFormat.QR_CODE, 300, 300, map);
int width = bitMatrix.getWidth();
int height = bitMatrix.getHeight();
BufferedImage image = new BufferedImage(width, height, BufferedImage.TYPE_INT_BGR);
for (int x = 0; x < width; x++) {
for (int y = 0; y < height; y++) {
image.setRGB(x, y, bitMatrix.get(x, y) ? 0xFF000000 : 0xFFFFFFFF);
}
}
Part logoPart = request.getPart("logo");
InputStream inputStream = logoPart.getInputStream();
BufferedImage logoImage = ImageIO.read(inputStream);
int logoWidth = logoImage.getWidth(null);
int logoHeight = logoImage.getHeight(null);
if (logoWidth > 60){
logoWidth = 60;
}
if (logoHeight > 60){
logoHeight = 60;
}
Image scaledLogo = logoImage.getScaledInstance(logoWidth, logoHeight, Image.SCALE_SMOOTH);
Graphics2D graphics2D = image.createGraphics();
int x = (300 - logoWidth) /2;
int y = (300 - logoHeight) /2;
graphics2D.drawImage(scaledLogo,x,y,null);
Shape shape = new RoundRectangle2D.Float(x, y, logoWidth, logoHeight, 10, 10);
graphics2D.setStroke(new BasicStroke(4f));
graphics2D.draw(shape);
graphics2D.dispose();
ImageIO.write(image, "png", response.getOutputStream());
inputStream.close();
} catch (Exception e) {
e.printStackTrace();
}
return null;
}
|
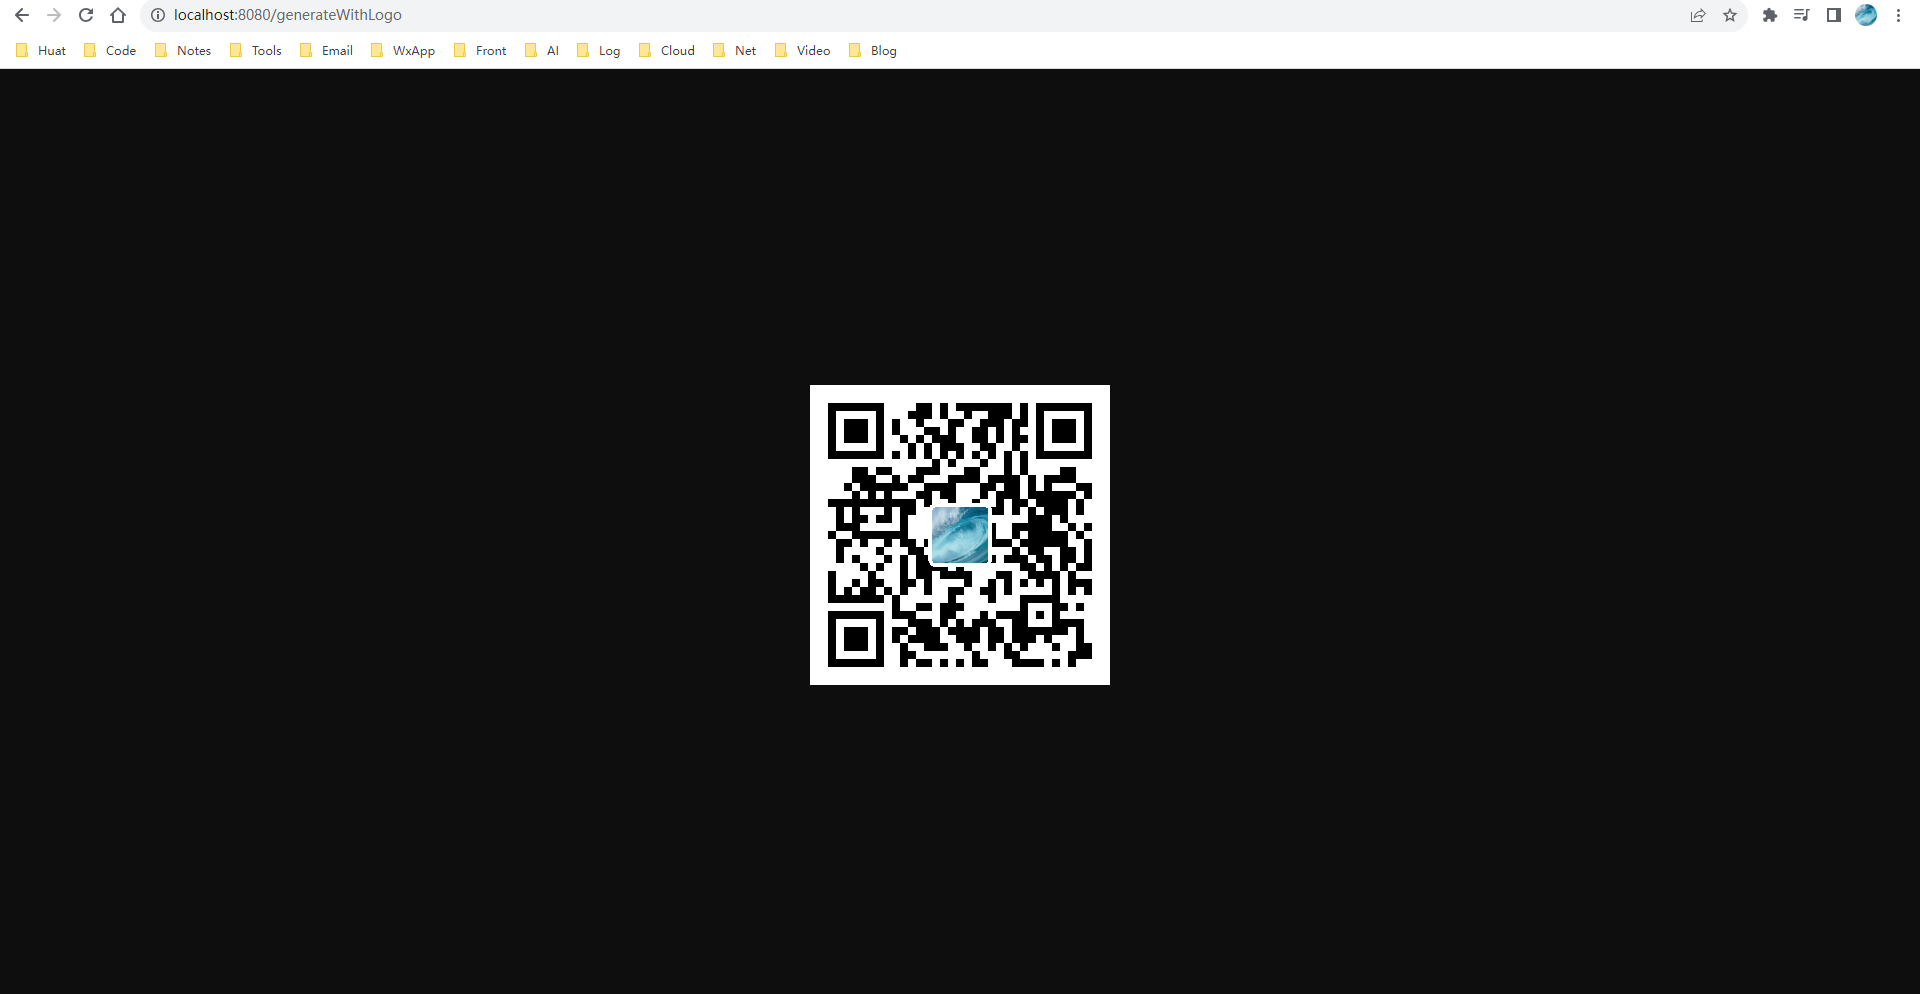
访问 http://localhost:8080/logo 测试
实现的效果

二.github开源项目qrcode生成二维码
1.引入依赖文件
这里就不在重新创建工程了,直接在上面工程的基础上操作
1
2
3
4
5
| <dependency>
<groupId>com.github.liuyueyi.media</groupId>
<artifactId>qrcode-plugin</artifactId>
<version>2.5.2</version>
</dependency>
|
2.生成黑白二维码
1.创建github-qrcode.html文件
1
2
3
4
5
6
7
8
9
10
11
12
13
14
15
16
| <!DOCTYPE html>
<html lang="en">
<head>
<meta charset="UTF-8">
<title>qrcode生成黑白二维码</title>
</head>
<body>
<h1>使用github上的开源项目qrcode生成二维码</h1>
<hr>
<form action="/generateWithQrCode" method="post" enctype="multipart/form-data">
请输入文本内容:<input type="text" name="url"><br>
请选择logo图片:<input type="file" name="logo"><br>
<input type="submit" value="生成二维码">
</form>
</body>
</html>
|
2.编写controller处理请求
1
2
3
4
5
6
7
8
9
10
11
12
13
14
15
16
17
18
19
20
21
22
23
24
25
26
27
28
29
30
31
32
33
34
35
36
37
38
39
40
41
42
43
44
45
46
47
48
49
50
| package com.mine.code.controller;
import com.github.hui.quick.plugin.qrcode.wrapper.QrCodeDeWrapper;
import com.github.hui.quick.plugin.qrcode.wrapper.QrCodeGenWrapper;
import com.google.zxing.WriterException;
import org.springframework.stereotype.Controller;
import org.springframework.web.bind.annotation.GetMapping;
import org.springframework.web.bind.annotation.PostMapping;
import org.springframework.web.bind.annotation.RequestParam;
import javax.imageio.ImageIO;
import javax.servlet.http.HttpServletRequest;
import javax.servlet.http.HttpServletResponse;
import java.awt.image.BufferedImage;
import java.io.IOException;
@Controller
public class GithubQrCodeController {
@GetMapping("/qrcode")
public String toQrCode(){
return "github-qrcode";
}
@PostMapping("/generateWithQrCode")
public String generateWithQrCode(@RequestParam("url") String url, HttpServletResponse response, HttpServletRequest request){
try {
BufferedImage image = QrCodeGenWrapper.of(url).asBufferedImage();
ImageIO.write(image,"png",response.getOutputStream());
} catch (Exception e) {
e.printStackTrace();
}
return null;
}
}
|
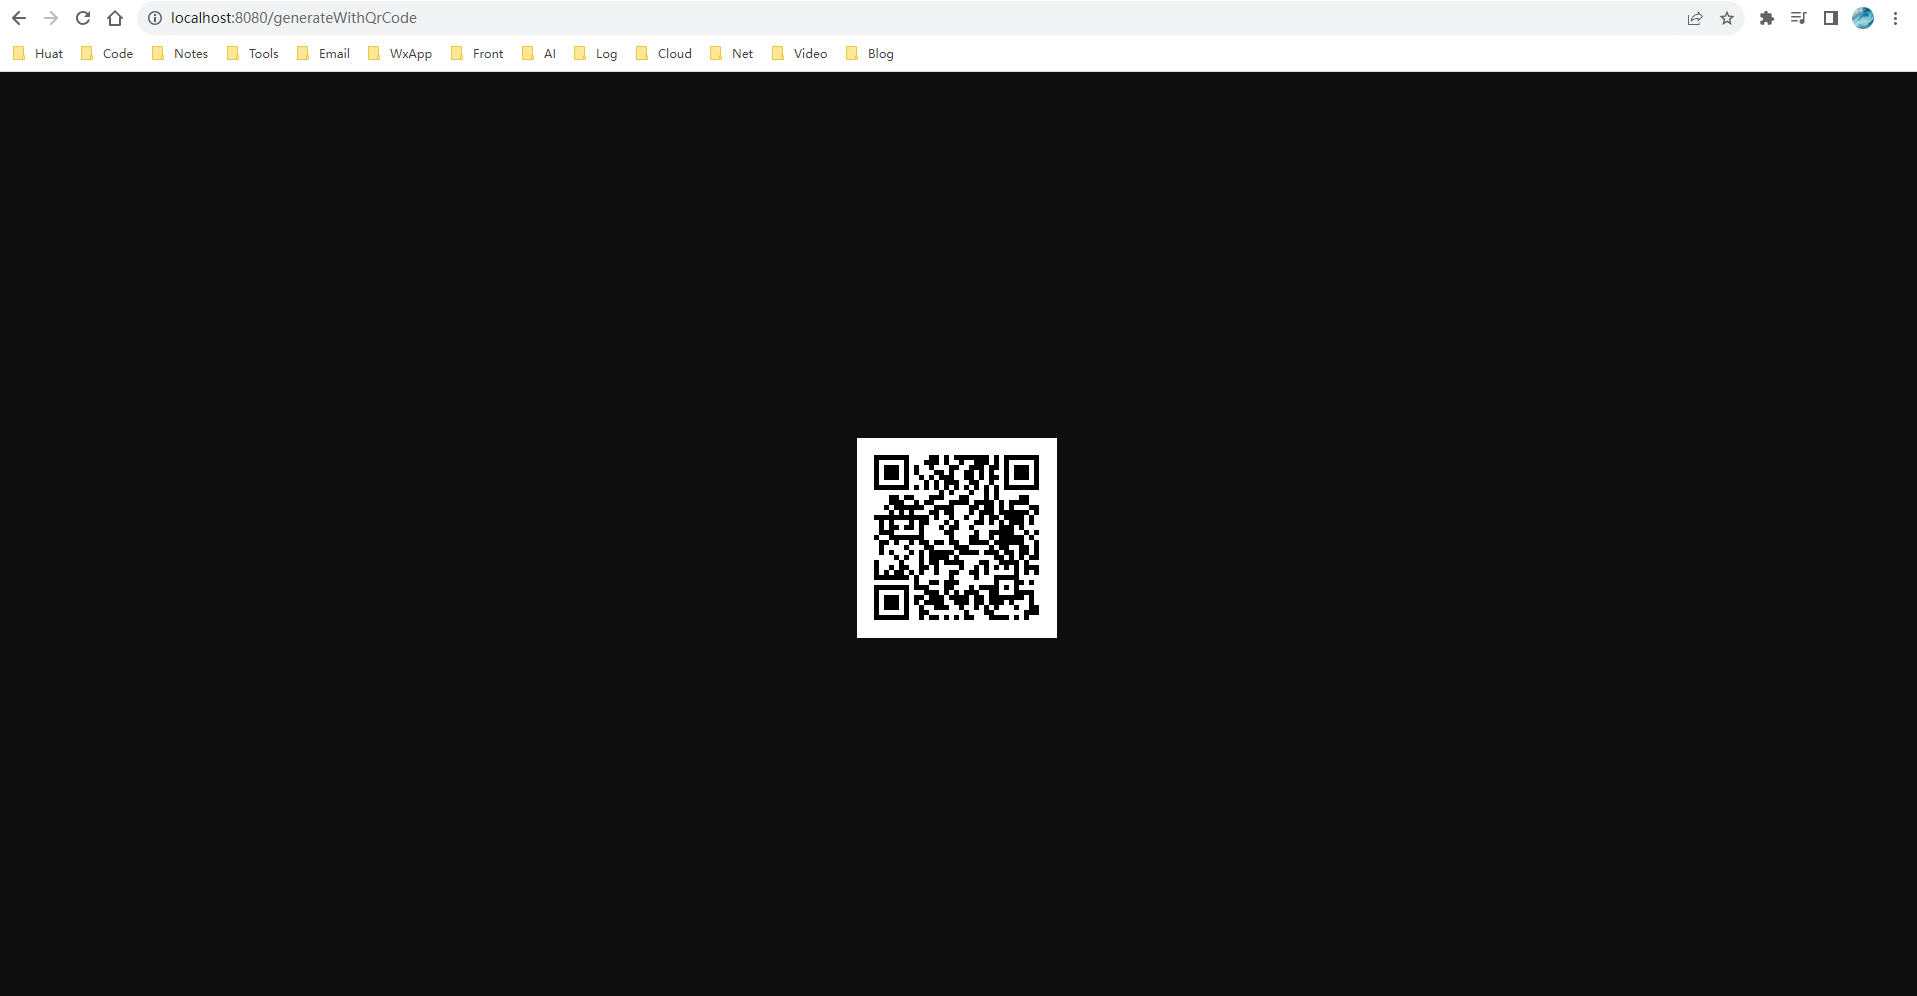
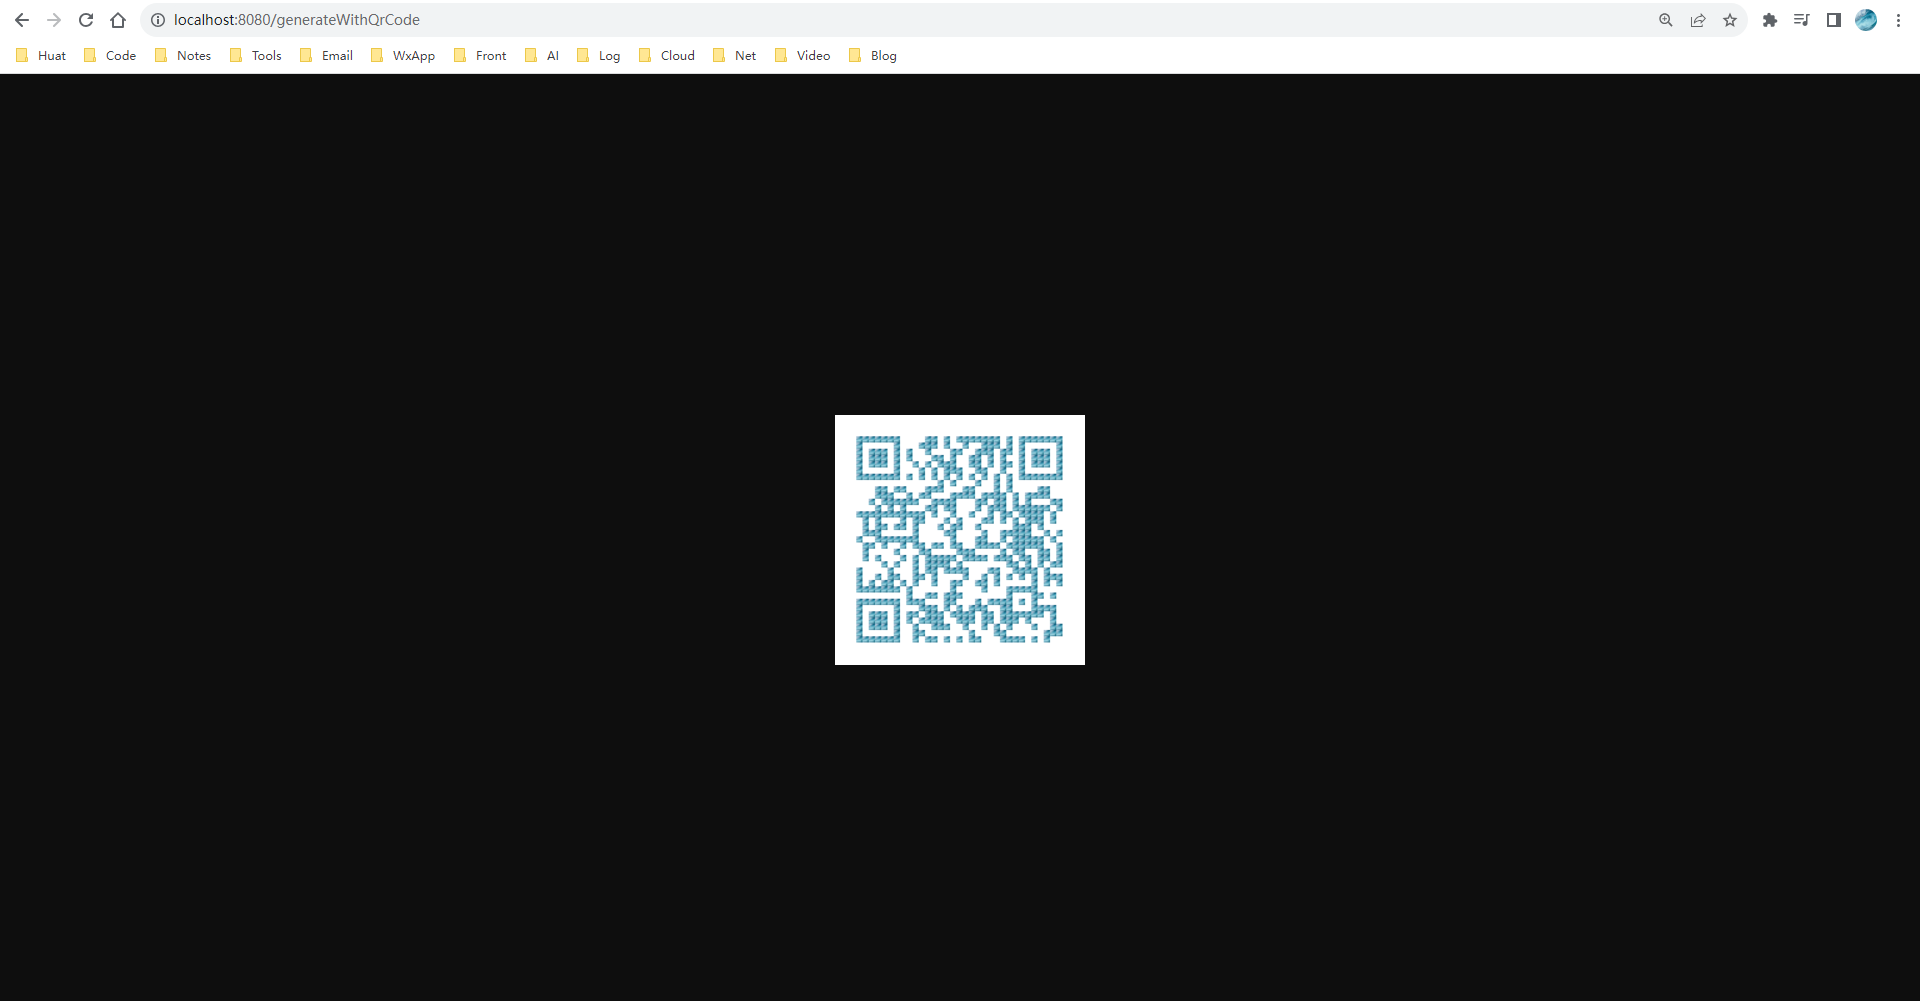
3.访问测试
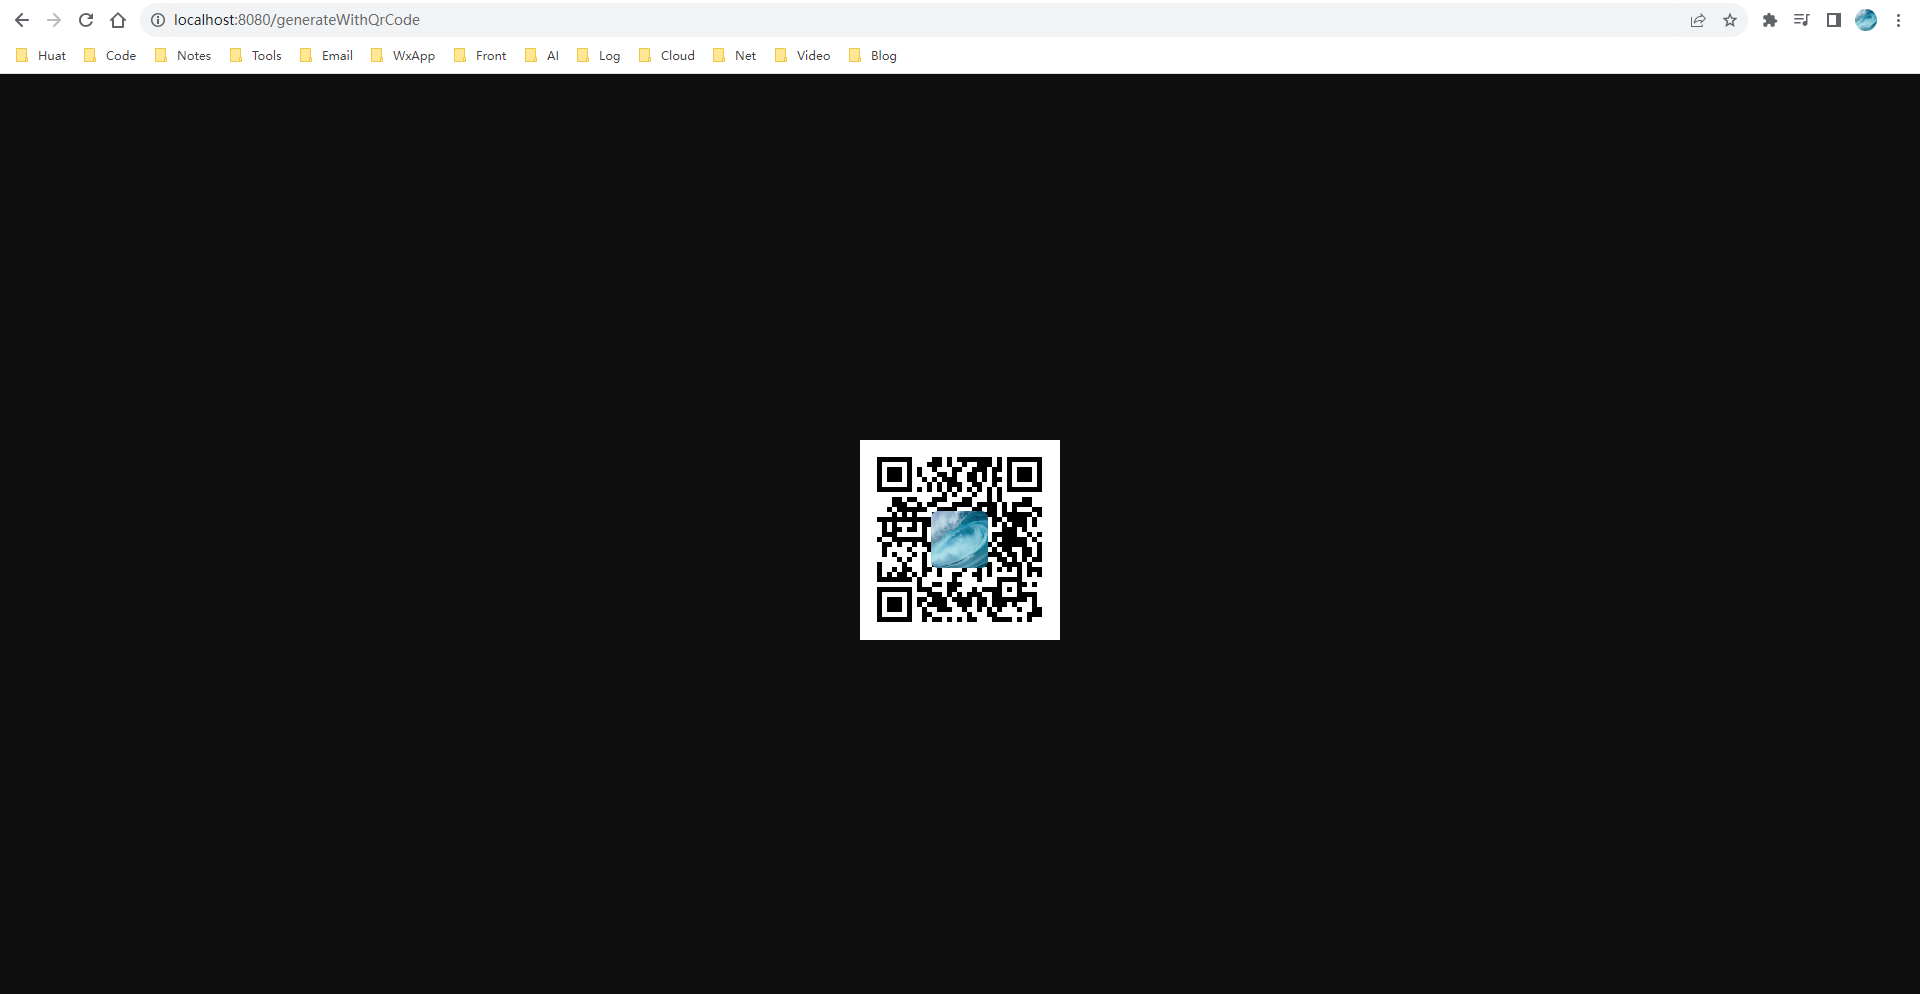
3.生成带有logo的黑白二维码
前端页面延续使用上面的github-qrcode.html
1.后端代码的编写
1
2
3
4
5
6
7
8
9
10
11
12
13
14
15
16
17
18
19
20
21
22
23
24
25
26
27
28
29
30
31
32
33
34
35
36
37
38
39
40
41
42
43
44
45
46
47
48
49
50
51
52
53
54
55
56
57
58
59
60
61
62
| package com.mine.code.controller;
import com.github.hui.quick.plugin.qrcode.wrapper.QrCodeDeWrapper;
import com.github.hui.quick.plugin.qrcode.wrapper.QrCodeGenWrapper;
import com.github.hui.quick.plugin.qrcode.wrapper.QrCodeOptions;
import com.google.zxing.WriterException;
import org.springframework.stereotype.Controller;
import org.springframework.web.bind.annotation.GetMapping;
import org.springframework.web.bind.annotation.PostMapping;
import org.springframework.web.bind.annotation.RequestParam;
import javax.imageio.ImageIO;
import javax.servlet.http.HttpServletRequest;
import javax.servlet.http.HttpServletResponse;
import java.awt.image.BufferedImage;
import java.io.IOException;
import java.io.InputStream;
@Controller
public class GithubQrCodeController {
@GetMapping("/qrcode")
public String toQrCode(){
return "github-qrcode";
}
@PostMapping("/generateWithQrCode")
public String generateWithQrCode(@RequestParam("url") String url, HttpServletResponse response, HttpServletRequest request){
try {
InputStream inputStream = request.getPart("logo").getInputStream();
BufferedImage image = QrCodeGenWrapper.of(url)
.setLogo(inputStream)
.setLogoRate(7)
.setLogoStyle(QrCodeOptions.LogoStyle.ROUND)
.asBufferedImage();
ImageIO.write(image,"png",response.getOutputStream());
inputStream.close();
} catch (Exception e) {
e.printStackTrace();
}
return null;
}
}
|
实现的效果
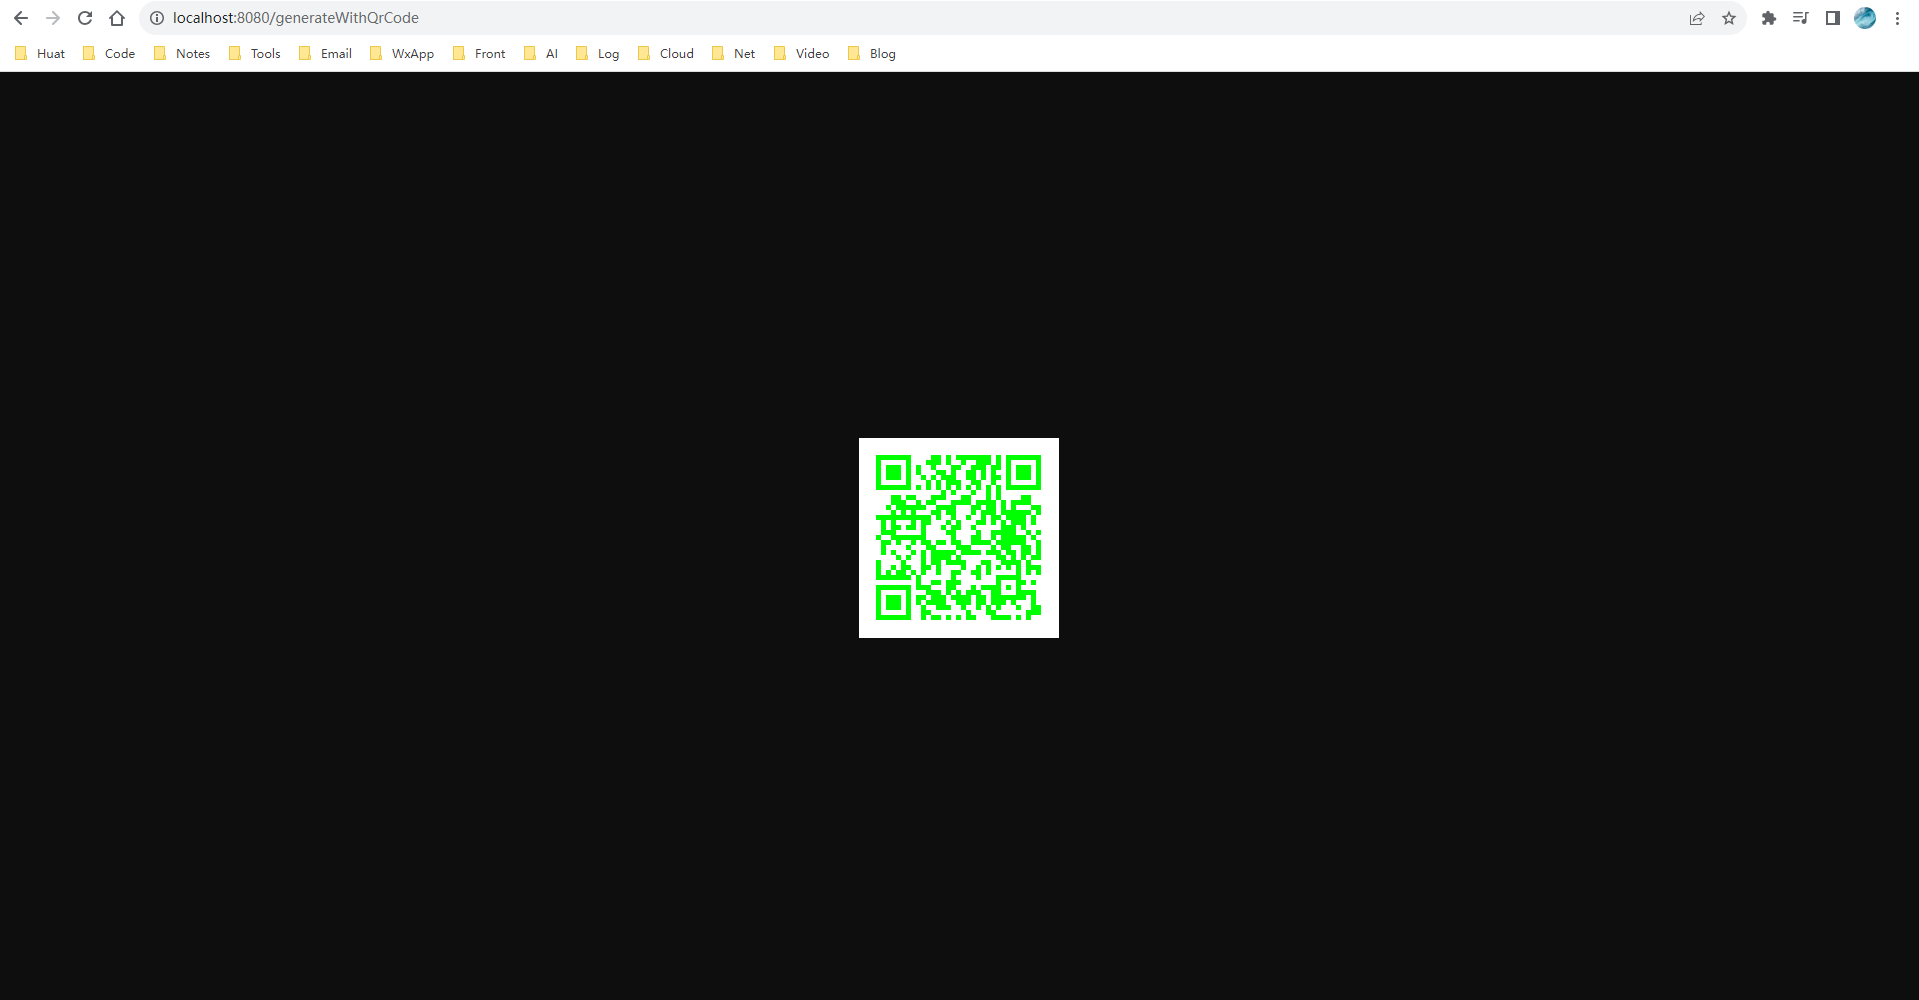
4.生成彩色的二维码
前端页面延续使用上面的github-qrcode.html
1.后端代码的编写
1
2
3
4
5
6
7
8
9
10
11
12
13
14
15
16
17
18
19
20
21
22
23
24
25
26
27
28
29
30
31
32
33
34
35
36
37
38
39
40
41
42
43
44
45
46
47
48
49
50
51
52
53
| package com.mine.code.controller;
import com.github.hui.quick.plugin.qrcode.wrapper.QrCodeDeWrapper;
import com.github.hui.quick.plugin.qrcode.wrapper.QrCodeGenWrapper;
import com.github.hui.quick.plugin.qrcode.wrapper.QrCodeOptions;
import com.google.zxing.WriterException;
import org.springframework.stereotype.Controller;
import org.springframework.web.bind.annotation.GetMapping;
import org.springframework.web.bind.annotation.PostMapping;
import org.springframework.web.bind.annotation.RequestParam;
import javax.imageio.ImageIO;
import javax.servlet.http.HttpServletRequest;
import javax.servlet.http.HttpServletResponse;
import java.awt.*;
import java.awt.image.BufferedImage;
import java.io.IOException;
import java.io.InputStream;
@Controller
public class GithubQrCodeController {
@GetMapping("/qrcode")
public String toQrCode(){
return "github-qrcode";
}
@PostMapping("/generateWithQrCode")
public String generateWithQrCode(@RequestParam("url") String url, HttpServletResponse response, HttpServletRequest request){
try {
BufferedImage image = QrCodeGenWrapper.of(url).setDrawPreColor(Color.GREEN).asBufferedImage();
ImageIO.write(image,"png",response.getOutputStream());
} catch (Exception e) {
e.printStackTrace();
}
return null;
}
}
|
实现的效果
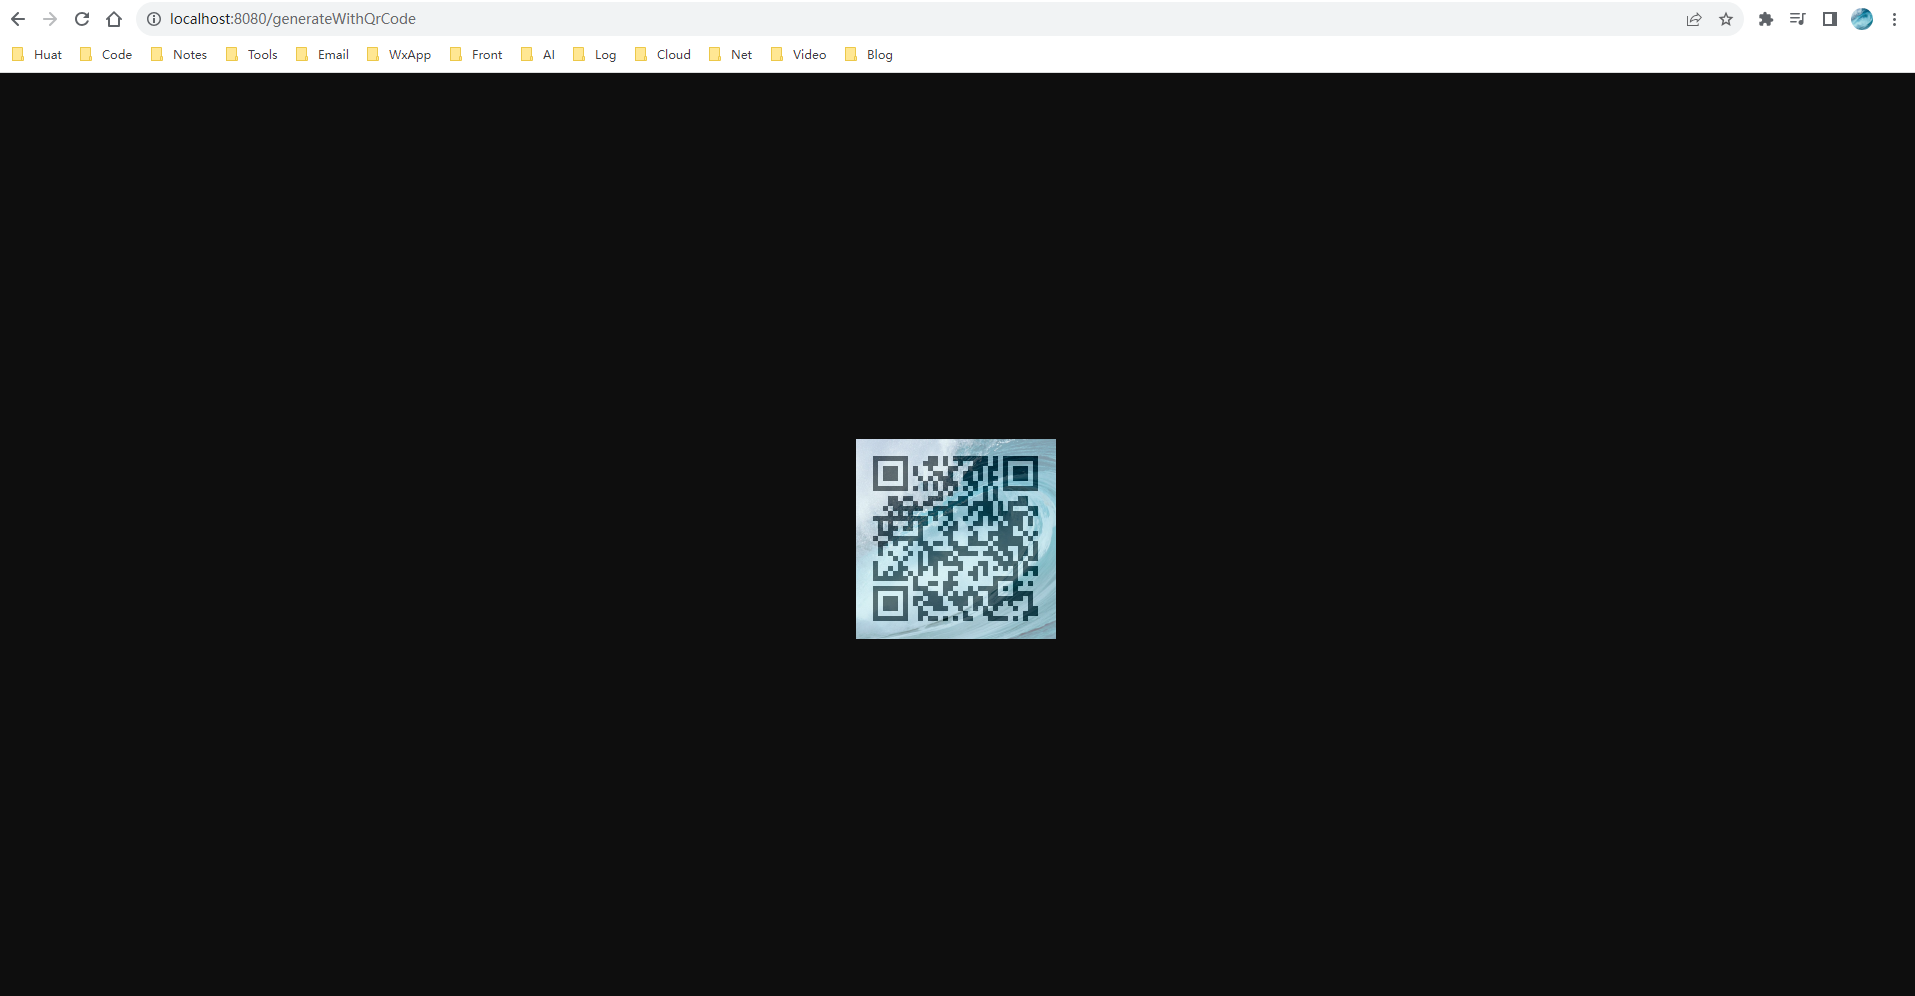
5.生成带有背景图的二维码
前端页面延续使用上面的github-qrcode.html
1.后端代码的编写
1
2
3
4
5
6
7
8
9
10
11
12
13
14
15
16
17
18
19
20
21
22
23
24
25
26
27
28
29
30
31
32
33
34
35
36
37
38
39
40
41
42
43
44
45
46
47
48
49
50
51
52
53
54
55
56
57
58
59
| package com.mine.code.controller;
import com.github.hui.quick.plugin.qrcode.wrapper.QrCodeDeWrapper;
import com.github.hui.quick.plugin.qrcode.wrapper.QrCodeGenWrapper;
import com.github.hui.quick.plugin.qrcode.wrapper.QrCodeOptions;
import com.google.zxing.WriterException;
import org.springframework.stereotype.Controller;
import org.springframework.web.bind.annotation.GetMapping;
import org.springframework.web.bind.annotation.PostMapping;
import org.springframework.web.bind.annotation.RequestParam;
import javax.imageio.ImageIO;
import javax.servlet.http.HttpServletRequest;
import javax.servlet.http.HttpServletResponse;
import java.awt.*;
import java.awt.image.BufferedImage;
import java.io.IOException;
import java.io.InputStream;
@Controller
public class GithubQrCodeController {
@GetMapping("/qrcode")
public String toQrCode(){
return "github-qrcode";
}
@PostMapping("/generateWithQrCode")
public String generateWithQrCode(@RequestParam("url") String url, HttpServletResponse response, HttpServletRequest request){
try {
InputStream inputStream = request.getPart("logo").getInputStream();
BufferedImage image = QrCodeGenWrapper.of(url)
.setBgImg(inputStream)
.setBgOpacity(0.5F)
.asBufferedImage();
ImageIO.write(image,"png",response.getOutputStream());
inputStream.close();
} catch (Exception e) {
e.printStackTrace();
}
return null;
}
}
|
实现的效果
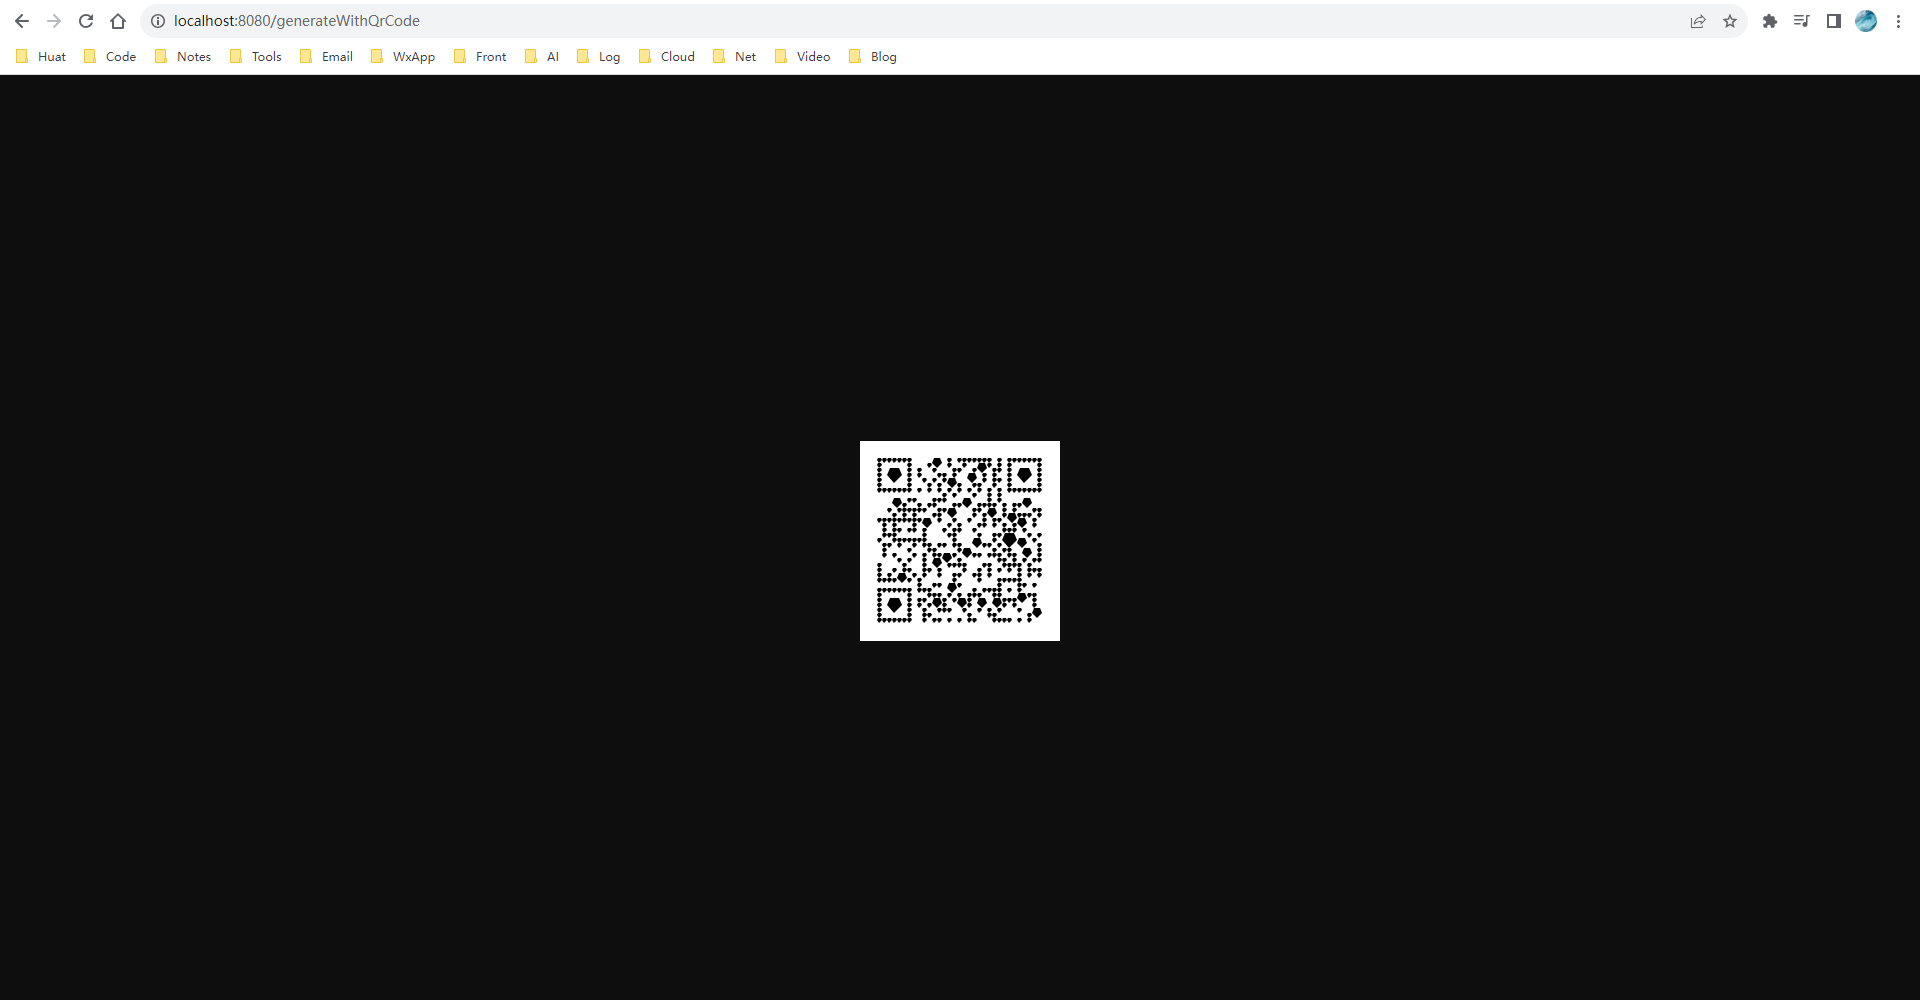
6.生成特殊形状的二维码
前端页面延续使用上面的github-qrcode.html
1.后端代码的编写
1
2
3
4
5
6
7
8
9
10
11
12
13
14
15
16
17
18
19
20
21
22
23
24
25
26
27
28
29
30
31
32
33
34
35
36
37
38
39
40
41
42
43
44
45
46
47
48
49
50
51
52
53
54
55
56
| package com.mine.code.controller;
import com.github.hui.quick.plugin.qrcode.wrapper.QrCodeDeWrapper;
import com.github.hui.quick.plugin.qrcode.wrapper.QrCodeGenWrapper;
import com.github.hui.quick.plugin.qrcode.wrapper.QrCodeOptions;
import com.google.zxing.WriterException;
import org.springframework.stereotype.Controller;
import org.springframework.web.bind.annotation.GetMapping;
import org.springframework.web.bind.annotation.PostMapping;
import org.springframework.web.bind.annotation.RequestParam;
import javax.imageio.ImageIO;
import javax.servlet.http.HttpServletRequest;
import javax.servlet.http.HttpServletResponse;
import java.awt.*;
import java.awt.image.BufferedImage;
import java.io.IOException;
import java.io.InputStream;
@Controller
public class GithubQrCodeController {
@GetMapping("/qrcode")
public String toQrCode(){
return "github-qrcode";
}
@PostMapping("/generateWithQrCode")
public String generateWithQrCode(@RequestParam("url") String url, HttpServletResponse response, HttpServletRequest request){
try {
BufferedImage image = QrCodeGenWrapper.of(url)
.setDrawEnableScale(true)
.setDrawStyle(QrCodeOptions.DrawStyle.DIAMOND)
.asBufferedImage();
ImageIO.write(image,"png",response.getOutputStream());
} catch (Exception e) {
e.printStackTrace();
}
return null;
}
}
|
实现的效果
7.生成图片填充二维码
前端页面延续使用上面的github-qrcode.html
1.后端代码的编写
1
2
3
4
5
6
7
8
9
10
11
12
13
14
15
16
17
18
19
20
21
22
23
24
25
26
27
28
29
30
31
32
33
34
35
36
37
38
39
40
41
42
43
44
45
46
47
48
49
50
51
52
53
54
55
56
57
58
59
60
61
| package com.mine.code.controller;
import com.github.hui.quick.plugin.qrcode.wrapper.QrCodeDeWrapper;
import com.github.hui.quick.plugin.qrcode.wrapper.QrCodeGenWrapper;
import com.github.hui.quick.plugin.qrcode.wrapper.QrCodeOptions;
import com.google.zxing.WriterException;
import com.google.zxing.qrcode.decoder.ErrorCorrectionLevel;
import org.springframework.stereotype.Controller;
import org.springframework.web.bind.annotation.GetMapping;
import org.springframework.web.bind.annotation.PostMapping;
import org.springframework.web.bind.annotation.RequestParam;
import javax.imageio.ImageIO;
import javax.servlet.http.HttpServletRequest;
import javax.servlet.http.HttpServletResponse;
import java.awt.*;
import java.awt.image.BufferedImage;
import java.io.IOException;
import java.io.InputStream;
@Controller
public class GithubQrCodeController {
@GetMapping("/qrcode")
public String toQrCode() {
return "github-qrcode";
}
@PostMapping("/generateWithQrCode")
public String generateWithQrCode(@RequestParam("url") String url, HttpServletResponse response, HttpServletRequest request) {
try {
InputStream inputStream = request.getPart("logo").getInputStream();
BufferedImage image = QrCodeGenWrapper.of(url)
.setErrorCorrection(ErrorCorrectionLevel.H)
.setDrawStyle(QrCodeOptions.DrawStyle.IMAGE)
.addImg(1, 1, inputStream)
.asBufferedImage();
ImageIO.write(image, "png", response.getOutputStream());
inputStream.close();
} catch (Exception e) {
e.printStackTrace();
}
return null;
}
}
|
实现的效果
二维码中的每一个像素点都是上传的图片,生成的速度很慢
 微信
微信 支付宝
支付宝